Thursday, December 22, 2011

Bits and Pieces that Add Up to Big Changes

Christmas break, among other things, means that I have three weeks off of work. We spent the last four days up in Tahoe working and playing. We didn't have any major projects in mind, but we did do a little interior decorating...

I promised a picture of the dish rack... here it is. We went thru several evolutions on design. Originally, it was going to be made out of barnwood from the Corning tear down and an old window from the Davis house. We went as far as building the frame work for it, but it just looked to bulky once we made it large enough to accommodate eleven inch plates. Back to the drawing board... we finally decided on open shelving. The final design is pictured on the right. It still incorporates the Corning barnwood, but we left the window out.

I cut all of the pieces and Caren sanded and pre-finished them before the final assembly. The dark walnut oil contrasts the white barnwood nicely, don't you think?

Caren added the lanterns to break up the vertical stack. The lanterns had been collecting dust in Davis after we purchased them from Ikea for an idea that never came to fruition several years ago. The dishes are from Walmart of all places... one can't find everything on Craigslist.

We also added matching shelves above the dreaded corner to tie the kitchen together. Same process... construction by Steve, finishing by Caren. Caren is having a lot of fun moving items from shelf to shelf trying to get everything just so.


If you place the next two pictures side by side, you can see the general layout of the entire kitchen.


Notice the chandelier? That was another one of Caren's Craiglist finds. It came without the glass and without any mounting hardware, but we are getting pretty good at problem solving. It is mounted on two five inch by five inch squares of the same barnwood that the shelves were constructed from. The big swag of chain saved me from moving the electrical work and repairing the ceiling.

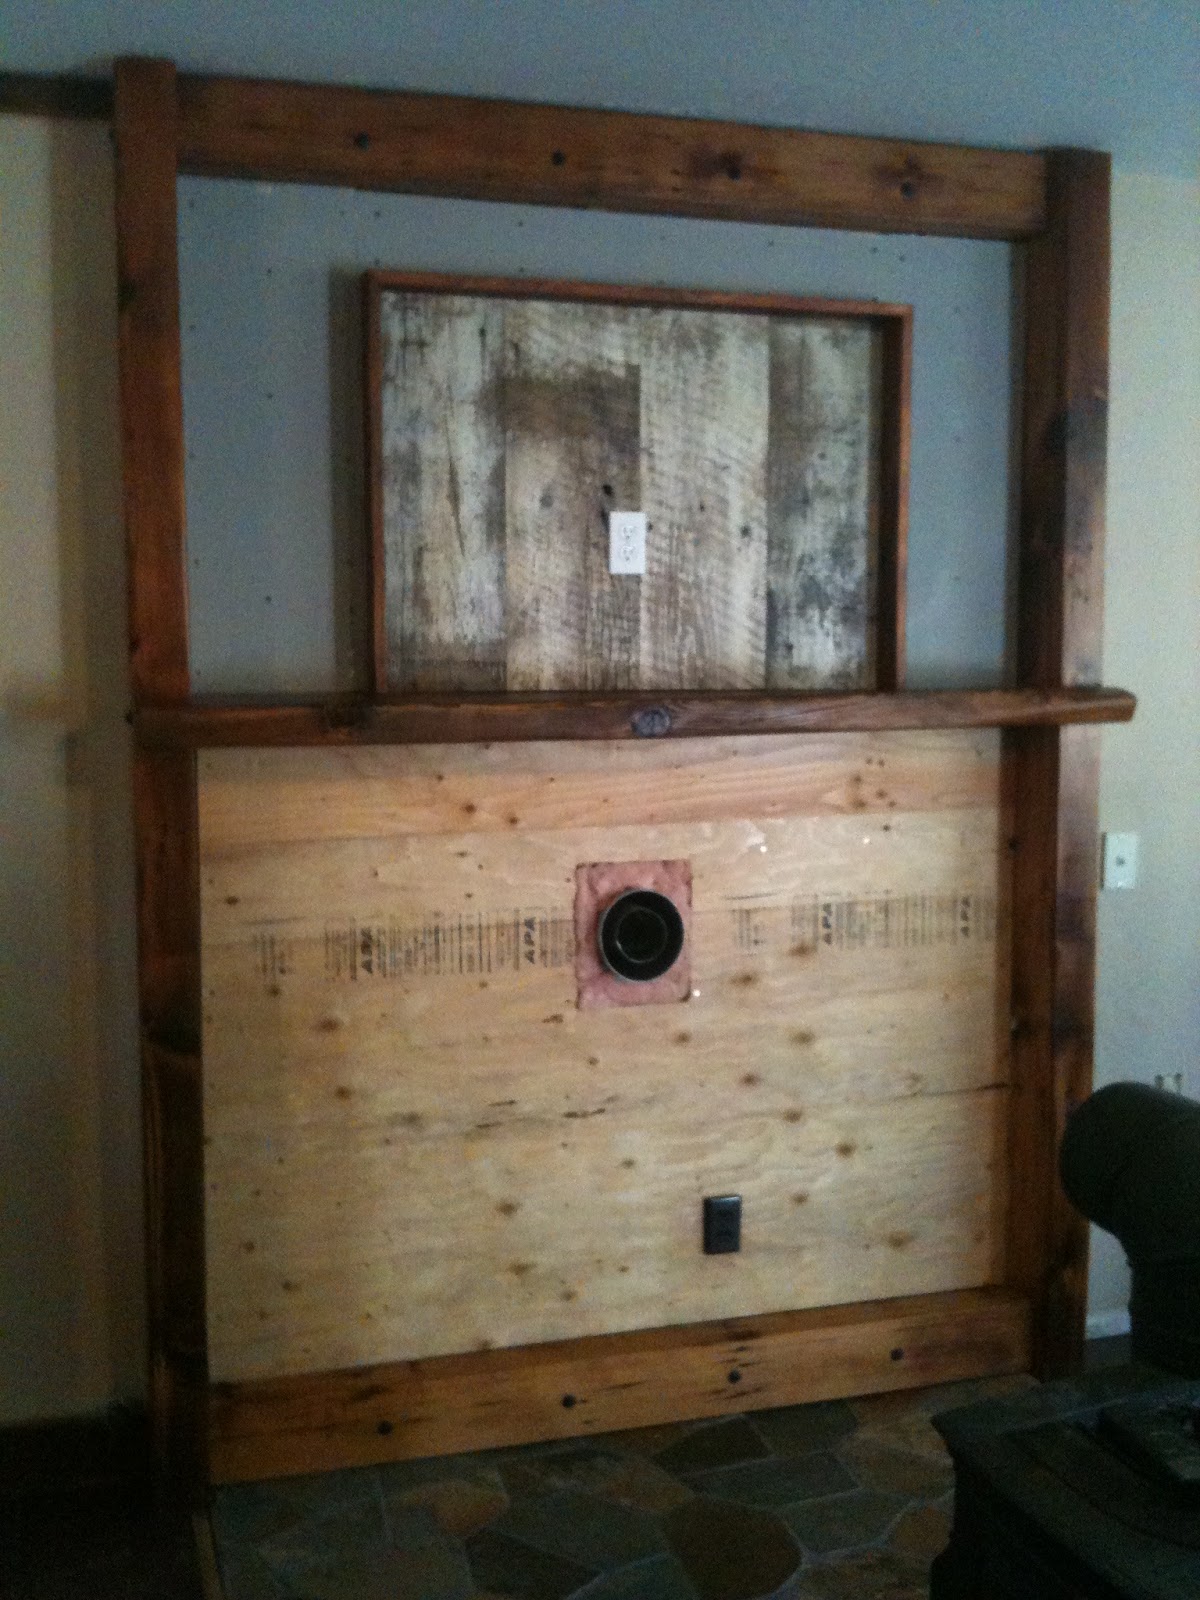
Speaking of electrical work... I cut this hole in the drywall several months ago, knowing that eventually I'd install switches to operate the kitchen and hallway lighting. I also knew that installing the switches would mean crawling around in insulation in the attic.

When Kelby and I completed all the electrical work for the kitchen outlets, we also ran wiring for the lights. That made installing the chandelier relatively easy. The hallway light is a different story.

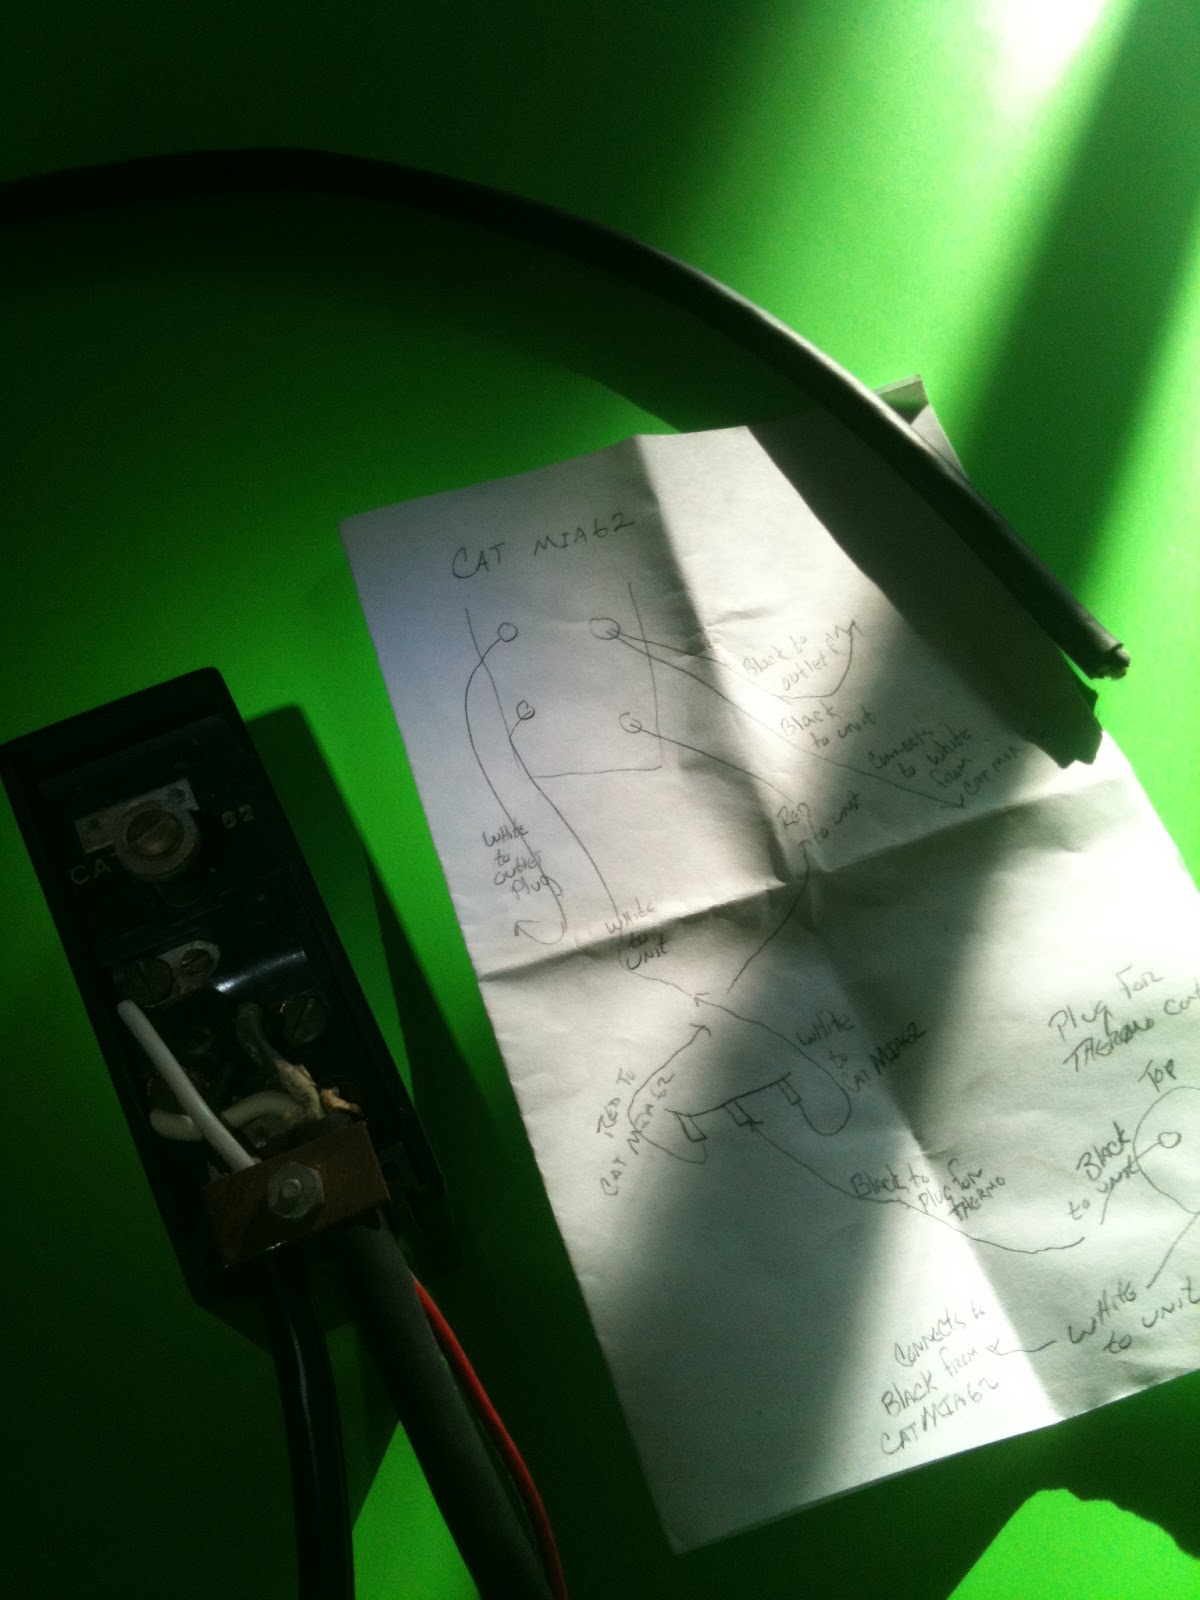
Our hall is all of six, maybe eight feet long. One really doesn't need a switch for the light at each end. I've never installed three-way switches before so I kinda liked the challenge.

The internet is a marvelous thing. After googling "wiring a three way switch" I found the perfect tutorial, wiring diagram included. After fishing around in the wall to run the 4-wire connection between the switches, we had switches at each end of our grand hallway. And, both operate the light!

While I was up in the attic I figured that I might as well run the wiring for the two kitchen lights. After much hemming and hawing at Lowe's and Home Depot, Caren and I finally decided on the semi-flush mounted fixture seen at the left. The one pictured over the refrigerator and pie safe involved cutting in a new electrical box and running the wire to it. There is a matching one above the sink and stove on the right side of the kitchen. Installing it involved cutting in a new electrical box, running wire, and patching the hole where the old kitchen light had been. The old light was mounted far too close to the wall and was not centered over the window. The new location is centered on the window... My OCD inner-self is finally at rest!

Oh, we also got around to building the pot rack to hang all of Caren's copper pots.

Two one by four barnwood boards, thirty-six inches long, held together by six inch black, antique carriage bolts that match all of the other iron work, with one inch copper pipe acting as spacers. I mounted 5/16th dowels on the top to hold the lids. The hooks, now just dime-a-dozen cup hooks, will be replaced by hand-forged, twisted iron from a blacksmith in Maine... Ebay is a wonderful thing. They arrived today and match all of the other iron perfectly. The rest of the hardware is not so cool... just simple eye bolts and hooks spray painted black.


Another pot rack shot...


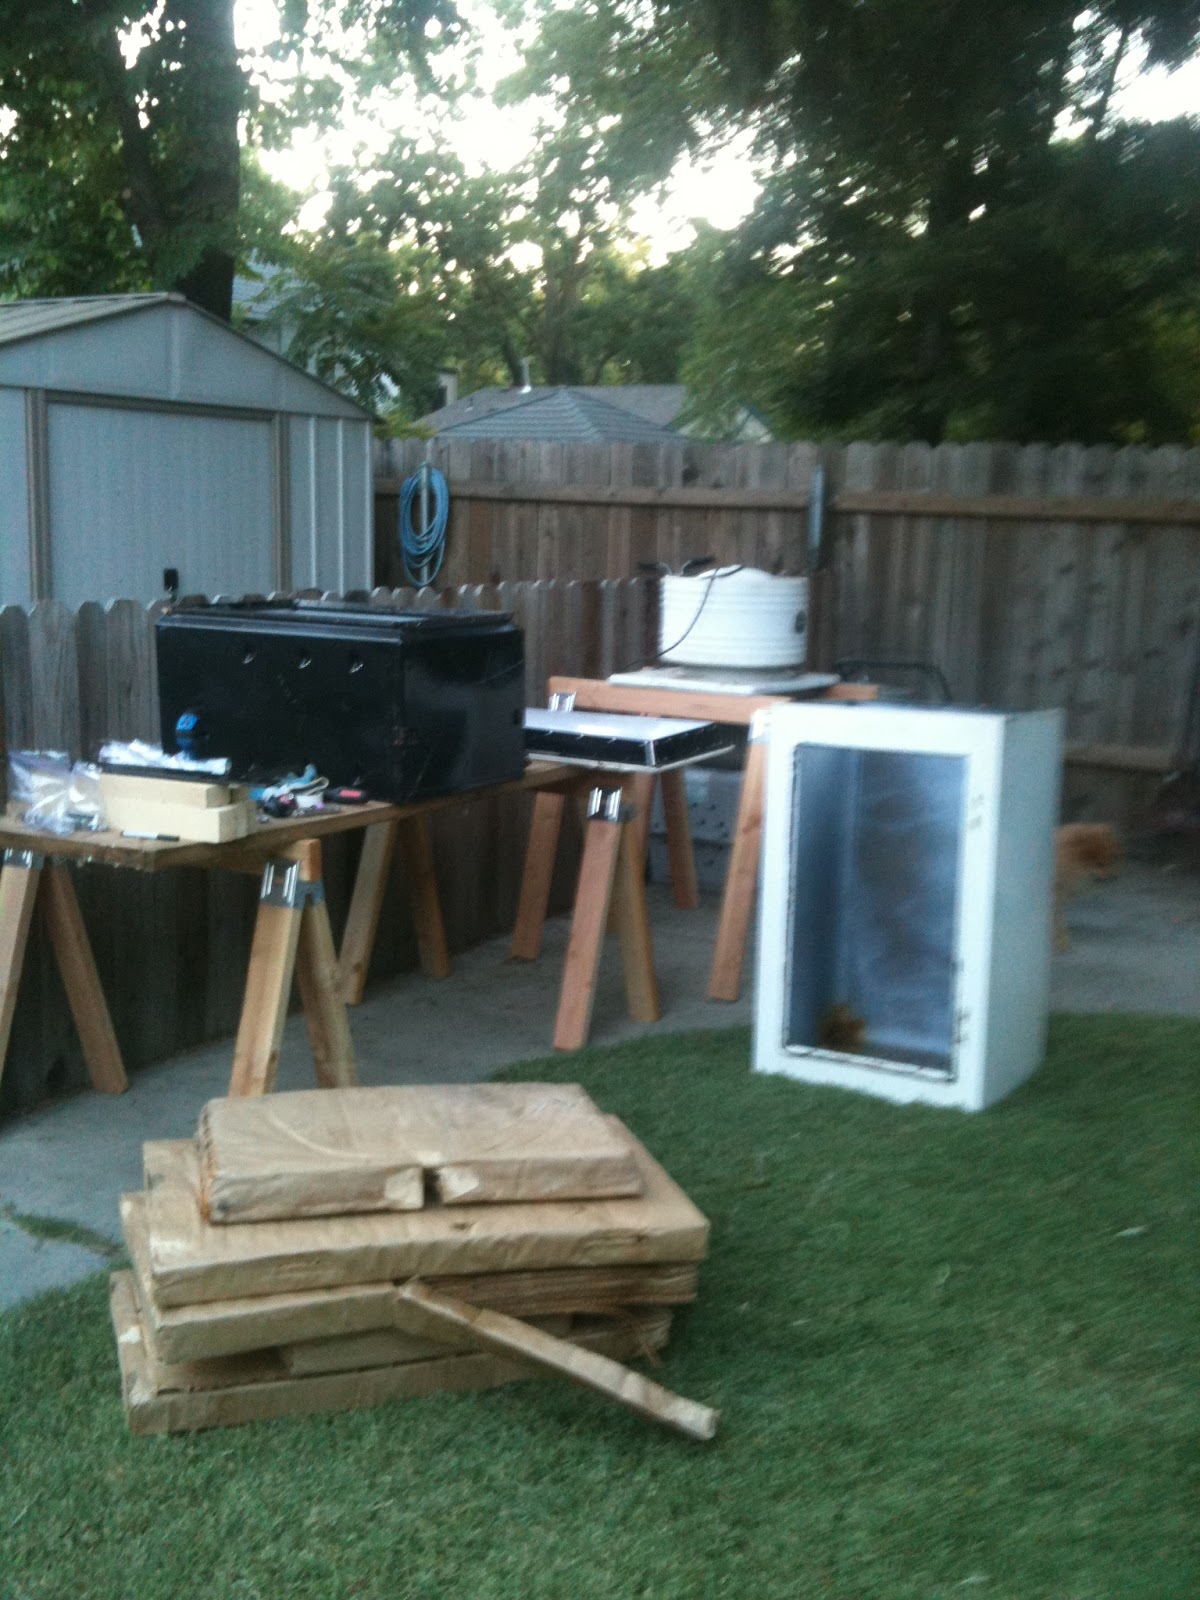
Finally, the interior doors. All of the doors in the house were cheap hollow core painted white. They were cracked and warped. They hung crooked. On some, the hinges were installed upside down. One had vents in it, cut to provide oxygen to the hot water heater. Another had a doggie door cut into it so a cat could access its litter box. In short, they were all a train wreck and needed to go. Above, one can see them loaded into the back of the Caren's truck shortly before I hauled them too the dump. I love going to the dump... it is such a cleansing experience.

Anyways, we splurged and bought four panel knotty pine interior doors quite awhile ago. We finally got them installed. I've hung a few doors in my time, but always forget where to place the first screw to make squaring and plumbing them easier. Should it go in the top, hinge-side corner? At the center hinge? I'm sure there are many schools of thought on the subject. By the time I'd hung three of the four doors, I finally had it figured out. Talk about your learning curve. The first door took about an hour, the second one about half that. By the time we were onto the last door, it was a fifteen minute process.

Once we had all the doors hung, Caren sanded, and sanded, and sanded... all by hand. Then she rubbed on a coat of dark walnut oil. By that time, she looked pretty knackered so I figured I'd give her a hand by adding a second coat of red mahogany. The doors looked great after the first coat of walnut. The red on top of that really made them pop. Caren will add one more coat of clear oil next weekend and finish the process by applying a rub on polyurethane. I think I will let her do the rest of the finishing on her own. I was pretty knackered after applying the red mahogany.

So, lots of little changes, but when one adds up the sum total of the dish rack, the lighting, the pot rack, and the doors the appearance and homey feeling of the place has changed dramatically. It really does feel like a home now!

Wednesday, December 14, 2011

You Say Its Your Birthday -or- Slave Labor

Last Saturday was Caren's birthday. Alex, Kelby and Taryn came up to Tahoe to help us celebrate. All the celebrating means that we didn't get too terribly much done around the place. Instead, we took Caren out to Freshies, a Hawaiian restaurant in SLT. The food was really good, the dessert was... well, if I'd known the coconut cream pie was so good I would have skipped the teriyaki stir fry and had a whole pie for dinner.

Amidst all of the celebrating, I did put the kids to work in the finishing mill. The weather has been unseasonable and there is no snow on the ground, so I moved the mill back outside...


After helping with the table saw and planer, the boys went to work with the sanders. There was some talk about forming a union and striking, but I quelled that nonsense by suggesting that I might charge rent if they didn't get back to work. 

Notice the bench top that they are working on. It used to be the front door. The new front door can be seen in the photo below, with its temporary trim... see my previous post about temporary trim on the backdoor if you are wondering why it is temporary. Caren and I both like how the new front door changes the look of the place and are pretty excited to get the new siding and windows installed next spring. 


Taryn helped me pull nails and oiled all of the newly sanded trim. It is amazing how much faster things go when the labor force is quadrupled. We had most of the trim ready to finish the living room by mid morning.

Then we spent the next few hours putting it mostly in the right place. I say mostly, because we changed plans on the install about two-thirds of the way thru so a few pieces ended up looking pretty mickey moused into place. I knew I wasn't gonna sleep well... 

Sunday morning, Alex and I attempted to fix the mickey mouse job. Alex is happy, I'm not. Most likely, I will be tearing the whole shebang out some day soon and doing it right... I hate being OCD.

Somewhere in the midst of all the trim work, Alex and I put together the dish cabinet that is currently sitting above the refrigerator and pie safe. I thought Caren took pics. She thought I took pics... We don't have any pics. But, I will take some next weekend and post them because the dish cabinet is something that I am very happy with... something that I won't have to tear out and re-do...

Tuesday, December 6, 2011

Of How We Have Come to Have an Operating Refrigerator

I have been looking forward to writing this post for more than a little while. In fact, documenting this process may have been the genesis for this entire blog...

So, let me take you back several months...

Shortly after we closed on the house, Caren and I found the Detroit Jewel Stove on Craigslist, and, of course, we ended up buying it. We didn't know it at the time, but with that one action, we set a whole chain of events in motion. The era for the decor was set with that one simple purchase.

The first problem we ran into was how to find a refrigerator that fit the 1920's motif. Refrigeration was not even mass produced until the late years of that same decade. Most homes had ice boxes, and ice was delivered much like dairy products were delivered when most of us were growing up. Ice deliveries would have been rather hard to come by (at least during the summer months), so we figured an ice box was out of the question. However, rumor had it that turn of the century ice boxes had been converted into refrigerators, so I started poking my nose about.

Conversion ice boxes were way, way out of our price range, but I did, with Caren's help, discover GE Monitor Top refrigerators.

The first Monitor Tops were produced in 1927 and sold as an add on to one's electric bill. GE would add $10 to each month's bill until the refrigerator was paid for in full. A new Monitor Top went for around $300. By comparison, a Ford Model T went for about $450 during the same era. None the less, GE sold over a million refrigerators... making the Monitor Top the first mass produced home refrigeration unit. It is interesting to note that the units were not named Monitor Top by GE. That moniker is a nickname bestowed on the refrigerator because of its resemblance to the turret of the USS Monitor, the Civil War era ironclad battleship.

What could be more perfect than a refrigerator that met our decor demands to the t? I started looking into pricing. A fully restored Monitor Top will cost you between $2400 and $3400. That is a pricy fridge. Fridges in as is condition run anywhere from $250 to $1000. National searches for Monitor Tops on Craigslist were not inspiring... Most of the adds showed pictures of rusting hulks and ran copy that said something like, "I think it worked last time I plugged it in... during the Eisenhower years."

I was about to give up the search and was trying to figure out a way to talk Caren into a $1400 partially restored unit that was for sale in SoCal... partially means "It still runs, and we gave it a coat of spray paint." when I found an auction on eBay for a working Monitor Top in Sacramento without a reserve on it. No reserve means that there is no minimum price that the seller will accept. If the top bid is $1 that is what the piece sells for. I placed a maximum bid of $120 and ended up winning the auction with just $108.

Within hours Kelby and I were at a storage facility in Sac exchanging cash for a very heavy refrigerator. That very fridge is pictured as we first saw it in the photo above. The seller was the granddaughter of McClatchy of Sacramento Bee frame. The Monitor Top we were purchasing was the household refrigerator in the McClatchy residence for years. Supposedly it still ran, but it had definitely seen better days. The door was stuck shut as the seal had long since glued the door to the box, there were minor rust spots, dents and dings, and the wiring was cracked and frayed.

By the time we had the refrigerator loaded into the back of the truck, we had tipped it over (it is very top heavy) and broken the cord that supplies electricity to the refrigeration unit.

Shortly after we brought our purchase home, it looked like this in the back yard.

But... before I began dismantling, I repaired the cord enough to supply power and plugged the Monitor Top in... and listened to the sounds of silence. No humming, no whirring, no clunking... nothing but silence. I checked my electrical repairs and resigned myself to the fact that Kelbs and I broke the unit when we tipped it over, or it wasn't working when we bought it... Caveat emptor! (another dollar for you Zach if you can translate that)

About that time Caren came outside, and I expressed my disappointment. She asked if I had turned it on while flipping the switch... hum, whirr, clunk. Oh sweet cacophony of noise.

Soon I was digging into the piece to see how much restoration I could do on my own and how much I was going to have to farm out.

The mechanical and wiring I could do, the paint and enamel I could do, but not well, the refrigeration nobody could do, at least legally. Fortunately the refrigeration was the one part of our Monitor Top that did not need work. After Caren flipped the switch from off to on, the ice box began to frost up almost immediately. That was cool, literally. Anyways, had Kelby and I broken the refrigeration lines we would have been out of luck because Monitor Tops use sulphur dioxide as a refrigerant. Sulphur dioxide causes blindness and is caustic to the lungs. Sulphur dioxide was outlawed as a refrigerant in the 1930s. Nobody repairs sulphur dioxide refrigeration units.

Very carefully I continued dismantling my baby. I considered having an autobody shop paint the whole thing. I considered spraying it myself, I decided to have it powder coated. Powder coating requires that the unit be heated to 400 degrees. All the plastic, insulation, wiring, and aluminum had to be removed. It took me two days of removing pieces one at a time, diagramming and labeling as I went... legs, interior box, exterior box, top, insulation, wiring, handle, badges, door panel, plastic trim, latch, light switch, seals... there are a lot of parts to a refrigerator.

All American Powder Coating did an amazing job. Shiny white, no runs, no drips, no errors...

And re-assembling the exterior was easy...


Assembling the interior was not so easy.


The left picture above shows the door and exterior box before any insulation or panels were installed. The right hand picture shows the door panel and insulation installed. Notice all the shiny silver rivets holding the black plastic that attaches the panel to the door??? Originally they were aluminum screws. When I dismantled the door and box about half of the screws stripped out, twisted off, or were seized up. I had to drill out far too many to count. As I drilled each one out, I wondered how difficult it would be to tap the holes when I replaced the screws... until I thought of rivets. The rivets were much easier than tapping new threads, but still it was a labor intensive process. There are a lot of them. After insulating the box with rigid foam panels and spray foam, the same process that attached the panel to the door was repeated to attached the interior box to the exterior box.

It took three or four days of work, but soon all that I had left was this...


This a close up of the refrigeration unit after I had stripped it of all its wiring, insulation, and decorative badges. Notice the icebox still attached, as are the delicate refrigeration lines. Notice also that there is no powder coating. The refrigeration unit could not be heated to 400 degrees because of the refrigeration lines full of caustic sulphur dioxide. Spray paint was my only option for restoring the unit. All American Powder Coating supplied me with the paint to match the powder coating. After carefully transporting the unit to Tahoe, I was able to spray the refrigeration unit. There are a few runs, drips and errors, but the color and finish matched the powder coating perfectly.

And now for the wiring... the wiring was not easy, it was not hard, it was most difficult... After numerous trips to Lowes and Home Depot and ACE and Hibbert, I started with the easiest of the difficult. The cord that runs from the wall outlet to the refrigeration unit is split by a plug that powers the interior lighting. The plug was in bad shape, but I couldn't find a suitable replacement online or in store. I was left with no other option but to rebuild it. So I bought a soldering iron and rebuilt it. Soon enough, with Kelby's help, I had an operating interior light. On to the more difficult of the most difficult...


My wiring diagram,  drawn months before, was all I had to go by...


My work space, remembering that I couldn't remove the refrigeration lines, was very limited...


It took me several hours and Caren's tiny hands to get the new wiring routed, soldered and connected before I was ready to test my work out. I plugged the unit in... no humming, no whirring, no clanking... and I remembered to flip the switch. What did I do wrong. Several more hours of testing and rewiring and still no humming, whirring, or clunking. Frustration... I was near the point of giving up and concluding that we had broken something in the motor during all the months of handling and transporting. Disappointment! All for naught?

Out of desperation, I fashioned a jumper out of a spare piece of wire and began jumping connection points... Jumping connections is almost a sure fire means of shorting out the motor or frying the wiring. It was an act of desperation... a spark here, no spark there... what's that? A hum? A whirr? A clunk? Jump that connection again. Hum, whirr, clunk. "Caren, put your hand on the freezer box, is it getting cold?" Ah, sweet relief!!!

If you look closely at the wiring diagram picture you will notice two white wires attached to the control unit. Despite my careful diagramming all of those months ago, I mis-diagrammed the attachment point for the two white wires. After switching them, the refrigeration unit work just as it did the day it rolled out of the factory over 80 years ago!


Tom, the neighbor, helped me lift the 150 or so pound refrigeration unit and place it on the box. The long saga was finally complete... nearly four months after beginning.


I still need to find interior shelves for our Monitor Top and repair the warn out handle, but we have, for the most part, a fully restored GE Monitor Top Refrigerator. According to AntiqueAppliances.com it is worth somewhere between $2400 and $3400. I would be hard pressed to sell it for $10,000.

Wow... I must, if you are still reading, apologize for the long winded post, but I think it is apropos given the long saga that it describes. There is beer cooling in the fridge. If you've read this far, and followed my convoluted monologue, you are welcome to one. We can drink to the state of the art refrigeration unit of nearly a century ago! Cheers...

Tuesday, November 29, 2011

According to Wikipedia a hoosier cabinet was originally designed to create storage space in kitchens without built in cabinetry, a commonality among early 20th century houses. Hoosier cabinets served as storage for staples and kitchenware, as well as extra counter space. The name Hoosier is derived from the company that originally manufactured them. Although other manufacturers copied the design, the name Hoosier became synonymous with the design much like Band-Aid is the common term for adhesive bandages.

Its interesting that both Caren and my mom separately, yet simultaneously, suggested the hoosier cabinet as being the perfect piece for our kitchen. The period, the 1890s thru the early 1920s, fit our design perfectly so Caren began an exhaustive search on Craigslist for the perfect piece.

Hoosiers are pretty common in antique stores and there were many to be had on Craigslist, but we needed one that was particularly narrow to fit our space. Most hoosiers are 45 to 48 inches wide. we had about 40 inches of wall space. Eventually, Caren found one that met our demands in Half Moon Bay. We spent a foggy Monday evening driving there to check it out.

According to the seller, the piece we purchased was manufactured in England in the late 1890s by the Hygena Company and brought to the US shortly thereafter. It was well taken care of by a sole owner for most of its life before it was purchased at an estate sale by the seller. We were fortunate to find a cabinet with nearly all of the original accoutrements. It was slightly dirty though.

This past week, Caren finally found the time to give a little love to the cabinet and turn it into a real beautiful addition to our 1920s era kitchen...


Our hoosier consists of three pieces: the top with its typical roll-down door and four cabinets, the bottom with four drawers and a large cabinet, and the slide-out enamel counter surface.

All of the hardware is bronze that has developed a really cool patina on it. The circles on the left and right upper cabinets and the lower cabinet are actually vents that open and close to allow baked goods to cool while being protected from flies and mice.

Every hinge, latch, and vent operates--a testament to how well made the piece is and how well taken care of it has been for the last hundred or so years.


The bottom of the entire lower cabinet is lined with tin to keep out the pests. There is a sliding shelf with a cutting board attached to the bottom of it. Caren cleaned the cutting board up and waxed it using a beeswax product, and we actually used it to carve our Thanksgiving turkey breast.

The drawer above the cabinet sits slightly crooked on its slides. I thought that maybe one of the slides had shifted over the years, but upon inspection I realized that the drawer had been open and closed so many times over the years that the wooden slide had worn down enough to make the drawer sit crooked. I can easily repair it, but am hesitant to do so because the wear adds so much character.


Check out the design of the upper cabinet... it is a model of space saving efficiency. The upper left door holds two clamps that were meant to hold a recipe. Below the clamps are two metal hoops that originally held salt and pepper shakers. Unfortunately we don't have the shakers. The right hand door holds a spice rack and a pocket for more recipes. I've added close-ups of the lower left door, the center door, and the roll-down cabinet because each is so cool...


The lower left hand cabinet houses a flour hopper complete with a glass window and built in sifter. It also holds two egg shelves. I wondered about eggs being stored in a cabinet rather than the refrigerator, then realized that during the era when hoosiers were popular refrigeration was a very new technology and not common at all. Eggs were gathered daily and used quickly before they could spoil.


We are fortunate that we found a piece with most of its jars still intact. The roll-down cabinet contains four large jars that do not have lids and five smaller ones with aluminum lids. The five large jars were not supposed to have lids. Instead, the shelf above them was spring loaded and felt lined. The springs push the shelf down onto the tops of the jar and the felt seals them. It is an interesting concept, but lids might have made things a little easier. 


Finally, the center cabinet door holds a shopping list. Each of the little red tabs flips over to become yellow and remind one of a staple that needs to be purchased. Staples at the beginning of the 20th century differed greatly from what we consider staples now. On the list are items like candles, coal, firewood, and stationary. Dad will be happy to know that prunes made the list of staples in the 1890s much like they make his list of must-haves today.

When we purchased the piece, one of the little red tabs was missing. As luck would have it, when I removed the metal tray below the list so that Caren could clean and paint it, we found the tab wedged between it and the door. I wonder how long it had been hidden away down there, presumed lost...

As I said above, Caren spent many hours restoring this piece to its original beauty. She stripped most of what remained of the old paint from the metal pieces before repainting them, she scrubbed the interior and applied three fresh coats of antique white paint, and she applied Restore-a-Finish to the exterior, a product that hides scratches and fade marks, before waxing the entire piece. She complained bitterly about the amount of work she was putting into it, but I think she is pretty happy with the results. I know I am.

Monday, November 28, 2011

Thanksgiving!

I am thankful for many things... too many that I take for granted... but this past weekend I was especially thankful for the time to finish the kitchen sink.

My boys were with their mom on Thanksgiving and Caren's kids were with their dad's family. That meant a quiet evening for Caren and me. We picked up a turkey breast, some stuffing, and a handful of fresh green beans from the local Railey's and commenced to making our first meal in our new kitchen. We both worried a little bit about getting the oven to the correct temperature and then keeping it there. We still haven't replaced the broken thermostat, but while we were at Railey's we picked up an oven thermometer along with the groceries. Turns out that it was pretty easy to keep the oven at approximately 375 degrees and an hour and a half later we had this... It was pretty cool to cook a meal on a stove that is nearly a hundred years old, have three burners and the oven cranking away all at the same time, and have everything turn out just like mom makes it!

 It wasn't cool to have to do the dishes afterward. Yes, that is the toilet on the left, which means that is the bathroom sink. Washing a fully prepared meal's worth of dishes in the bathroom sink convinced me that the kitchen sink was indispensable.

So... We tiled the backsplash with slate that matches all of the other rock work in the house, Caren meticulously finished the counter top with multiple layers of polyurethane, and after waiting for everything to dry, I installed the faucet.  The waiting was the hard part... one day for the tile, one day for the polyurethane, another day for the grout. The faucet was simple. It took about fifteen minutes. The final step was caulking the seam between the tile and the countertop. We couldn't grout that seam because, even though the wood countertop is kiln dried, acclimated, and finished, it still is wood, and wood expands and contracts depending on the moisture in the air. Grout doesn't like expanding and contracting. I don't like having to repair cracked grout. 

The caulking that is used to tie tile to wood is a nightmare. It is a combination of latex based caulking and silicon based grout. They call it siliconized caulking. If you have ever spent time caulking you know what a mess it can make if you are not careful. If you have ever grouted tile you know what a mess it makes even when you are careful. Now combine the two, and just for kicks, throw in a very warm house and high altitude. The warm house and high altitude worked in conjunction to increase the pressure inside the tube of caulking. When I cut the top off of it I was more than a little frustrated that the siliconized grout flowed out of the tube without the aid of a caulking gun. Needless to say, I used a lot of rags to finish the caulking and clean up the mess. Afterwards I had to apologize to Caren for being such a grumplestilskin. 


I think I mentioned before that we planned on leaving the based open to expose the drain pipes. Now we are looking for the perfect basket/crate to hide the sprayer hose that hangs down.

A detail shot of the right side of the sink base. The entire base is made out of barnwood from the Corning tear down. I used black square head lag screws that match those used in the fireplace and stove mantle work to tie the pieces together.

A blurry shot of Caren's faucet. She picked it up from a Craigslister for a song. I think she paid $130 for it brand new, still in the box. It was marked as scratched when packaged. We couldn't find a scratch on it. When I went online to find the installation instructions, I couldn't help but notice that the faucet retailed for $470... Craigslist is so cool!

And finally a shot of the dreaded corner... Caren has been fretting about her kitchen layout for several weeks. She feels like she wasted the entire corner. Actually, the dreaded corner is below this section of the counter because we need this little bit of counter to put the dish drainer on... 1920ish kitchens didn't have dishwashers. Neither does ours. Anyways, there is about a two foot by three foot void underneath the counter that Caren dislikes. I think it is the perfect place to put a crate that stores little used cleaning supplies, etc. Theo likes the void too. It is the perfect hiding place for him when he wants to curl up and go to sleep.

And we have a fully functioning kitchen!!!  I am thankful!!!

Monday, November 14, 2011

3 Days, an Island and a Sink

While on vacation, during the whole purchasing process, my mom asked me what the first thing was that we were going to do to the house once it was ours. My response had something to do with the kitchen sink. Remember, when we bought the place, it wasn't functioning.  That was four months ago. I finally tired of doing dishes in the bathroom.

Thanks to all of our veterans, I had three days instead of two this past weekend. Time to get the kitchen functioning. The stove was finished weeks ago, most of the cabinetry, if it can be so called, has been done for awhile. We have a temporary refrigerator, and the island/table top has been nearly complete for a few weeks. All that was left to have a fully functioning kitchen was the sink... the very same sink that I told my mom would be the first project...
I think that I mentioned previously that Caren found a brand new cast iron and porcelain apron front sink on Craigslist.  It had been sitting on our back porch for several weeks. It isn't there anymore. I built the frame for the sink base out of 2x4's and 2x6's from the barn that was torn down in Corning. The hardware matches that that I used on the counter top for the island--black square head quarter inch lags. The paneling is also from the Corning barn. We originally planned to make the countertop out of 2x6 barnwood, but ran a little short of material. We discussed tile. We discussed granite. We ultimately settled on one inch laminated pine that is available from just about any lumber yard. That decision saved much time and money. We are going to leave the bottom open and use chrome plumbing that will match the chrome on the stove and faucet. I'm glad that Caren liked that idea because I didn't want to have to build doors for the cabinet...

I cut, sanded, drilled, leveled, and screwed. Caren oiled and varnished. When I say screwed... I don't just mean screwed lags into the frame. I literally screwed a cut. Remember that the floor is not level. That means that the anything that sits on it needs to be leveled somehow. The sink was about half a bubble off level.  No problem, I'll shorten the right hand legs to level it. I shortened them too much...

But, I already new the solution to that problem because I'd solved it while working on the island...


Caren loves the island. Caren does not love all the work she put into the island. She sanded the whole base. She stained and painted. She distressed the edges. She painstakingly chose the hardware.

I fashioned the top out of barnwood. I sanded, filled, sanded and sanded some more. Caren has spent several hours putting coat after coat of varnish on it. But, I want you to notice the feet... Like the sink, the island sat half a bubble out of level.

Instead of shortening one set of legs, I decided to lift the opposite set with furniture levelers from Home Depot. The left hand legs ended up about half an inch off the deck. I could have lived with that if the right hand legs matched, but they were actually on the deck. Caren wouldn't have lived with it either way.

The solution was simple... Trim! Trim is used to hide awkward joints between floor and wall, between window and wall, even between wall and ceiling. Trim makes things look cool. Why not trim the legs of the island?  I did, using barnwood from the Colussa County barn. I think it came out pretty cool. Caren thinks it looks like the island is going to walk away. In an odd sort of way, the island resembles the AT AT Walkers from Star Wars.


We still need one more set of legs for the island. They are on order from Southwest Country... Forged iron in a matte black finish. They will not only support the currently cantilevered top, but they will remedy the AT AT Walker impression.

Anyways, back to the sink... I chose to shorten the right hand legs instead of lifting the left hand legs because I worried that the levelers would not be strong enough to support a 180 pound cast iron sink that would weigh close to 300 pounds when full of water and dishes. Wish I didn't blow the cut, but I did... so we trimmed the legs of the sink too.  This time I used lumber from the Corning barn because it would match the legs better. Refer to the picture up top to see how I did...

We still need to put a coat of dark oil on the trim to complete the project, but that's okay because we still need a faucet and backsplash. I also need to trim under the counter top so it doesn't look like it is floating out in space.

Caren ordered a faucet with a chrome finish... it came in stainless. We didn't acccept it. The new faucet should arrive this week. We are going to tile the backsplash with slate to match the stonework behind the stove. The cool thing is that we need a four inch backsplash. The slate comes in four inch squares... a no cut tile installation??? Hopefully, but I am borrowing a mini tile saw from a co-worker just in case.


The nearly finished kitchen. The refrigerator on the right is the actual monitor top... minus the top. It still needs to be rewired. The fridge is quite the project. Some day soon I'll post about the whole thing...

Monday, November 7, 2011

A "Look" at the Garage

Snow has arrived in Tahoe... There is about eight inches on the ground at the house. And, that means that I need a place to keep picking away at the very long to do list. The garage would be a great place...

So, I spent several hours cleaning out the garage on Saturday. It had become a catch-all for just about everything. There is about 500 linear feet of barnwood, the remainder of the stone that we used on the fireplace and entry way, a whole stack of windows, a few doors (both old and new), some forty odd sheets of corrugated metal, and a bunch of large tools. 

A little stacking here, rearranging there, and organizing everywhere... pretty soon, really about eight hours, I have had a suitable workshop that will keep me busy most weekends this coming winter.

Really not that exciting, especially cause I don't have any pics of my cool new man cave, but there is a little side story...

As part of my garage make over, I built a workbench out of recycled lumber that had been laying out in the backyard, probably for several years. I don't know what Rick had used the lumber for, but it had plenty of nails in it... really big nails. My not so detailed plans for the workbench did not include any real big, rusty nails. 

So, the first step in making the bench top was to pull all the nails, a simple enough task that only involved a hammer and a crowbar. It should have involved safety glasses. The very first nail I laid the crowbar to came lose from the board like a bullet... well, maybe not quite like a bullet, but it hit me in the eye like a right cross from a prize fighter. After staggering around like a drunken sailor for a few seconds I pulled my hand away from my eye and noticed blood. 

My first thought was, I hope that's from the skin somewhere around my eye. It wasn't. After staggering to the house and telling Caren that I had good news... I think I said, "The good news is that I can still see, kinda." I looked in the mirror with my good eye and could easily make out the impression of the head of a sixteen penny nail in my bad eye. How lucky am I that the nail hit head first instead of point first? Halloween is over and it is not good form to go walking around in November with a nail sticking out of one's eye when one should be busily preparing for Thanksgiving.

Anyways, after flushing the eye out repeatedly and digging out a chunk of rust, I am pretty sure that my eye will be fine. The nail hit the white. I don't know the fancy terms for the important parts of the eye... cornea, pupil, iris??? but I do know that none of them were damaged because I can still see fine. The whole left side of my left eye is red where it should be white right now, but I'm sure that will clear up in a week or two. I probably should go to the doc and get a tetanus shot though.

And, always wear safety glasses! 

sorry that I don't have any pictures... the man cave is really not that exciting and Caren says that my eye looks really gross.

Monday, October 31, 2011

A few pics from Caren's Phone

Finally a daylight shot of the stove and its accompanying backdrop. Eventually we will hang an iron pot rack from the ceiling to house all of the copper pots... yet another Craigslist find. Caren also found a place that has replacement thermostats, the only part that doesn't work, for the stove.

 If you'll pardon the mess... A longshot of the kitchen. There are doors for the backside of the island... they just haven't been finished yet. The counter top on the island is quite a story. I mentioned a little about it in a previous post. It now has been lovingly sanded and finished. All that is left is a final coat of varnish to toughen it up a bit.

And we're finally done!!! The fireplace is finished. See numerous previous posts for all of the labor that went into it. Caren and I spent all day last Saturday placing the ledge stone and making the final connections for the electrical and venting. On Sunday I milled, finished and placed all of the final trimwork. I am particularly pleased with the trim around the hearth. One of my first posts described all the angst that tying the rockwork to the flooring caused me. Turns out it was a relatively simple task, and Caren and I both think it looks great.

One of the reasons that there are no doors on the island pictured above is because Caren thinks that the same barnwood that is used above the mantle would look great on the backside of the island. I'm not entirely sold yet, but can see how it would tie everything together... elements of the fireplace behind the stove, elements of the of the mantle work on the countertop, elements of the island above the fireplace... you get the picture.

 The bear holds a tea light candle. Kelby picked it up for us on one of his adventures and thought it would fit the place perfectly... guess you could call it our first housewarming gift. Love the candle, but wanted to include this pic so one can see some of the detail work on the fireplace. My mitering skills are improving... as well they should be after all the mistakes I've made... I'm beginning to develop a few little tricks that help to make those pesky corners come out nearly perfect. I now see how much effort finish carpenters put into their work and why finish carpentry is truly a lifetime's trade.

Monday, October 24, 2011

Continuing the Work in Progress

Zach and Kelby met us in Tahoe on Saturday morning to lend some muscle to the next step in the saga that is the fireplace. See A Work In Progress for the previous steps. I needed their muscle to run the direct vent piping down the chimney. Picture fourteen feet of double walled galvanized aluminum pipe that is almost seven inches in diameter. Between the three of us we were able to wrestle the piping into place...

Then the fun began...

At the bottom of the chimney, where the flu would normally be, we attached a 90 degree elbow to start the horizontal run to the free standing gas fireplace. In order to achieve the correct elevation for the horizontal run, I had to remove four bricks from the back of the firebox. Curling up in a firebox with a chisel and a hammer is not fun, especially when the brick one is knocking out falls onto one's knee. Ouch.

Anyways, we got everything close...

Knocking the bricks out to make room for the direct vent piping... Caren had previously spent a few minutes cleaning out the area behind where the chimney flu normally sits. I thought she might find another squirrel or two, but she lucked out. The bricks came out relatively easy once the mortar was knocked loose using a stout chisel.

And I finished off Saturday by framing in the firebox...

On Sunday morning I fabricated the box that will eventually house the television. Caren and I decided to use barnwood from the Corning tear down. We wanted to leave the paint on it which meant that I didn't need to plane or sand it... simply rip it to width, cut it to length and wire brush it to remove any dirt and/or loose paint. 

I also completed the electrical rough in for the outlets that will power the television and the blower for the freestanding fireplace.

All insulated with spray foam and R19 fiberglass. The stove pipe gets hot when the fireplace is in use, so there are minimum set backs required whenever it is near combustible material... one inch on the sides and bottom, two inches on top. I left ample room all around...

All sheathed in...

Backerboard that will accept the mortar for the stonework is installed above the mantel. I still need to install it below the mantel but held off doing so until I have a thimble cover to support the vent pipe and insulate the area around it. Basically, a thimble cover is a 10x10 square of aluminum with a hole cut out of the middle of it and noncombustible insulation backing it. It works much like the plastic switch plates work that cover your light switches. I temporary insulated the hole to keep out any drafts, but the pink fiberglass insulation will be removed once the thimble cover is installed.

I also varnished the barnwood to seal it and finished the electrical work... 

All that is left inside is the thimble cover, rockwork and the final hook up to the freestanding fireplace... Hopefully next weekend!

Outside is a different story. This is what the top of the chimney looks like... loose bricks and a very decayed mortar bed. The direct vent pipe actually sticks out of the oval shaped chimney liner, but was not in place when I took this photo... regardless, the chimney is in need of serious repair.  I'm guessing that I will be on the roof sometime next weekend with hammer, chisel, and bucket of mortar. I also have a call into Bob's Heating, the goto guy in SLT for chimney flashing. He came highly recommended by the guys at South Y Fireplace, who were very helpful themselves during this whole process... anyways, hopefully Bob will be able to fashion some custom flashing that will protect the top of the chimney and keep the weather out.

I'm ready to be done with the fireplace...