Then the fun began...
At the bottom of the chimney, where the flu would normally be, we attached a 90 degree elbow to start the horizontal run to the free standing gas fireplace. In order to achieve the correct elevation for the horizontal run, I had to remove four bricks from the back of the firebox. Curling up in a firebox with a chisel and a hammer is not fun, especially when the brick one is knocking out falls onto one's knee. Ouch.
Anyways, we got everything close...

Knocking the bricks out to make room for the direct vent piping... Caren had previously spent a few minutes cleaning out the area behind where the chimney flu normally sits. I thought she might find another squirrel or two, but she lucked out. The bricks came out relatively easy once the mortar was knocked loose using a stout chisel.

And I finished off Saturday by framing in the firebox...

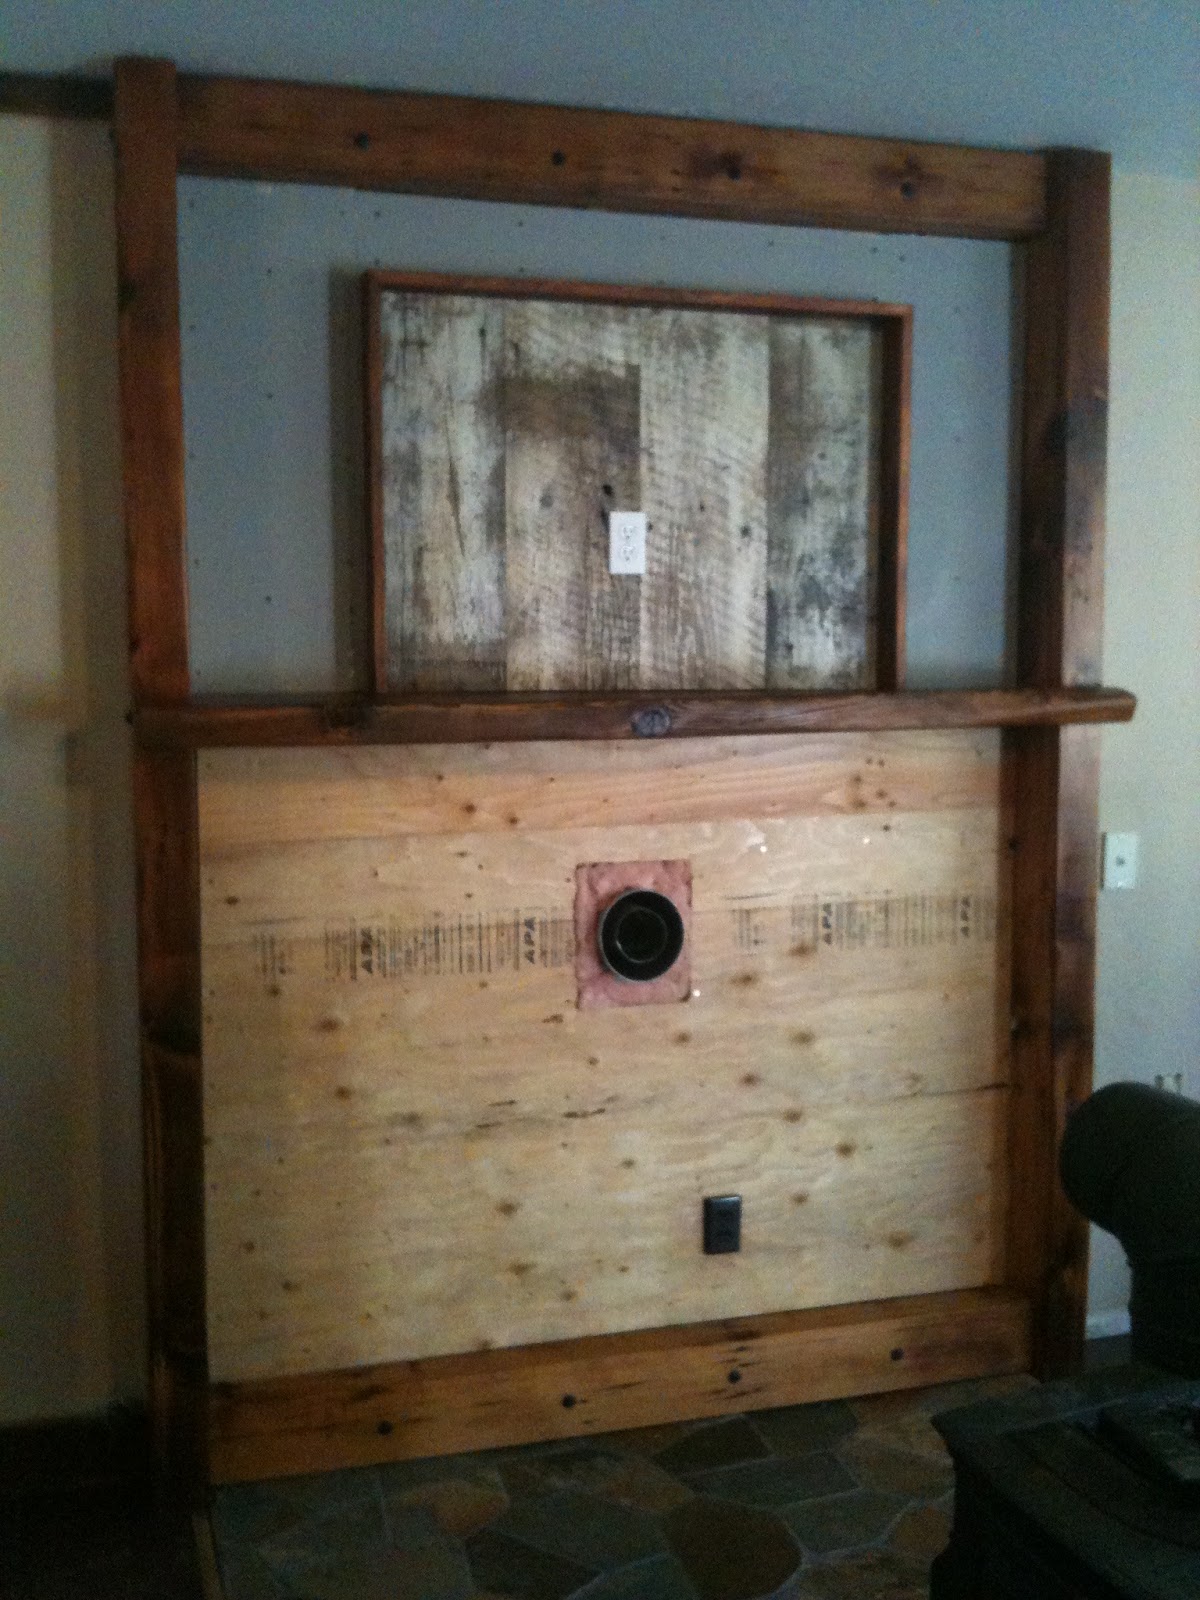
On Sunday morning I fabricated the box that will eventually house the television. Caren and I decided to use barnwood from the Corning tear down. We wanted to leave the paint on it which meant that I didn't need to plane or sand it... simply rip it to width, cut it to length and wire brush it to remove any dirt and/or loose paint.
I also completed the electrical rough in for the outlets that will power the television and the blower for the freestanding fireplace.

All insulated with spray foam and R19 fiberglass. The stove pipe gets hot when the fireplace is in use, so there are minimum set backs required whenever it is near combustible material... one inch on the sides and bottom, two inches on top. I left ample room all around...
All sheathed in...
Backerboard that will accept the mortar for the stonework is installed above the mantel. I still need to install it below the mantel but held off doing so until I have a thimble cover to support the vent pipe and insulate the area around it. Basically, a thimble cover is a 10x10 square of aluminum with a hole cut out of the middle of it and noncombustible insulation backing it. It works much like the plastic switch plates work that cover your light switches. I temporary insulated the hole to keep out any drafts, but the pink fiberglass insulation will be removed once the thimble cover is installed.
I also varnished the barnwood to seal it and finished the electrical work...
All that is left inside is the thimble cover, rockwork and the final hook up to the freestanding fireplace... Hopefully next weekend!

Outside is a different story. This is what the top of the chimney looks like... loose bricks and a very decayed mortar bed. The direct vent pipe actually sticks out of the oval shaped chimney liner, but was not in place when I took this photo... regardless, the chimney is in need of serious repair. I'm guessing that I will be on the roof sometime next weekend with hammer, chisel, and bucket of mortar. I also have a call into Bob's Heating, the goto guy in SLT for chimney flashing. He came highly recommended by the guys at South Y Fireplace, who were very helpful themselves during this whole process... anyways, hopefully Bob will be able to fashion some custom flashing that will protect the top of the chimney and keep the weather out.
I'm ready to be done with the fireplace...
OK. I will officially post. You guys are scaring me. Don't burn the house down. Not after all this work!!!!! G'Ma
ReplyDeleteNow I remember why I didn't do it. Too many hoops. Confirm these letters, etc. etc. Yikes!
ReplyDelete